But home-made fig rolls, where you know what's inside is something completely different. And as per usual, I try to follow the original recipe as closely as possible, in particular since this one was from Paul Hollywood and previously his recipes have been good. As it turned out, this one was too, but the proportions were not quite right, however that is not a bad thing. The original recipe is here.
Ingredients
Biscuit dough
175 g plain flour
1 pinch of salt
%frac14; tsp baking powder
50 g unsalted butter at room temperature
40 g light muscovado sugar
1 large egg
½ tsp vanilla extract
Filling
200 g soft, dried figs
25 g light muscovado sugar
1 tsp ground cinnamon
1 ball of stem ginger in syrup - about 2 cm diameter
Method
- Sift together the flour, salt and baking powder and make sure they are well mixed.
- Beat together the butter and the muscovado sugar until pale and creamy.
- Add the egg and the vanilla extract and and whisk until well combined.
- Add the flour mixture in 3 batches, incorporating each fully before adding the next.
- Wrap the dough well and place in the fridge to chill, while you make the filling.
- Chop the figs and place into a small saucepan and add the muscovado sugar and enough water to just cover the fruit.
- Bring to the boil on medium heat, then reduce the heat to a fast simmer and let cook for 5 - 8 minutes, stirring occasionally. The figs should go even softer and the whole mixture should thicken.
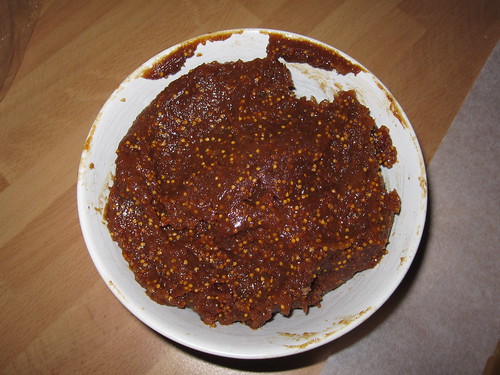
- Transfer the mixture to a food processor and blitz to form a paste. Add the ginger and cinnamon and pulse a couple of times to get it mixed in, but not too finely chopped. Spread the filling onto a plate, cover with cling film and chill to firm up for 10 minutes.
- Pre-heat the oven to 180 °C fan. Prepare a couple of baking sheets with baking paper.
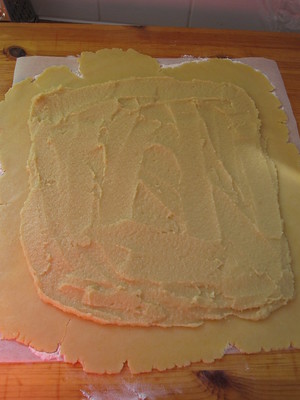
- Cut out a sheet of baking paper and dust with flour. Roll out the dough into a rectangle no more than 4 mm thick on the baking sheet. Cut along the long side of the rectangle into 10 cm wide strips.
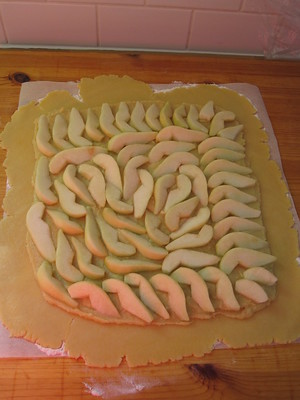
- Flour your hands and form some of the filling to a sausage, about 2 cm diameter, and lay along the middle of a dough strip, then carefully use the baking paper underneath to fold the dough around the filling. Use a little water to wet the edges and make them stick together, they don't need to overlap too much.
- Repeat with the remaining strips, re-do any trimmed off edges to use up the dough.
- Cut each strip into equal pieces of around 4 cm length, then carefully place onto the baking sheets, no need to leave too much room, they don't puff up much.
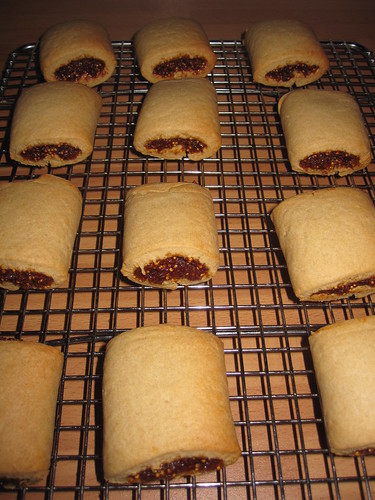
- Using a fork, press down each roll to get the decorative lines on top and bake for 12 - 15 minutes, until they start going golden brown.
- Remove from the oven and transfer to a wire rack to let them cool down.
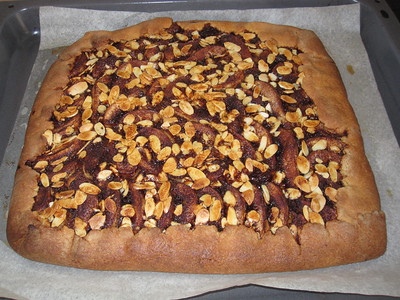
These are definitely really tasty and not remotely related to the shop-bought stuff and well worth doing. However, the original instructions don't tell you how thick to roll the dough and I only rolled it to the 25 x 20 cm as it said and it was way too thick. Also the amount of filling was almost twice what I could fit into the dough, I weighed it and it was 322 g, but I had to scoop out 141 g in order to get the dough around the filling. I've tried to make adjustments in the above instructions. But any left-over filling can be used as spread on toast as an alternative to jam or frozen for the next fig roll batch. I'd also say the filling probably works nicely as praline filling as well.

|
|

|

|

|

|